

The classic signs of an underfloor heating leak are cold zones in the floor, a boiler or manifold that keeps losing pressure, damp skirtings and staining or dark patches on screed. Isolate the circuit at the manifold to confirm it, then have the loop traced with thermal imaging or tracer gas before anyone touches the floor.
Signs of an Underfloor Heating Leak (and What to Do Next)
An underfloor heating leak is the hidden leak in its purest form. The pipework is cast into screed or hidden between joists, there are no valves to inspect, and the first warning is usually a symptom somewhere else entirely: a gauge that keeps dropping or a floor that no longer warms evenly.
The good news is that a leaking loop reveals itself in predictable ways, and finding it no longer means breaking out the floor on a guess. Here are the signs we look for, how to confirm the leak is really in the underfloor heating, and what happens next.
What this guide covers
How wet underfloor heating works, in one minute
A wet system pumps heating water through continuous plastic pipe loops laid under the floor, most often buried in a sand-and-cement or liquid screed. Each loop starts and ends at a manifold, the row of valves and flow gauges usually hiding in a cupboard, utility room or hallway box. The manifold connects to the boiler or heat pump, and on a sealed system the whole arrangement holds pressure just like radiators do.
Two details matter for leaks. First, the loops themselves have no joints under the floor when installed correctly, so failures cluster at fixings, staples and anywhere the pipe was nicked during the build. Second, because the pipe sits in dense screed, escaping water spreads sideways and shows up somewhere other than directly above the failure. Keep both in mind when reading the signs.
The signs of an underfloor heating leak
No single sign proves a leak, but two or more together make one very likely. This is the list we run through on the phone with every underfloor heating enquiry:
Cold zones or stripes in the floor. A loop starved of flow stops heating its patch of floor. A room that used to warm evenly but now has a distinctly cold band, especially with the rest of the system working, is a strong signal.
Pressure that will not hold. The boiler gauge or the manifold’s own pressure gauge keeps creeping down and needs topping up. If the drops continue with the underfloor circuits isolated, the leak is elsewhere; if they stop, you have your answer. Our guide to a boiler losing pressure explains the wider diagnosis.
- Damp skirtings and wall basesWater in screed migrates to the edges of the slab and wicks up at the perimeter. Damp or blown plaster at skirting level, in a home with underfloor heating, points down rather than up.
- Staining or dark patches on the screedWhere floors are exposed or coverings get lifted, a persistent dark patch that never fully dries is screed holding water.
- Floor coverings reactingLifting or cupping timber, bubbling vinyl, or grout lines darkening across a run of tiles all mean moisture underneath.
- A musty smell in one roomTrapped moisture under flooring feeds mould you can smell before you see. Persistent mustiness in a UFH room deserves investigation.
- The heating working harderA leaking loop dumps heat into wet screed and the ground. If a system suddenly struggles to reach temperature in one zone, flow is going where it should not.
Confirming it: the manifold isolation test
Before anyone quotes for repairs, prove where the loss is. The manifold makes this easier than most people expect, because each loop has its own valves.
Step 1: Note the system pressure
Photograph the boiler gauge and, if fitted, the manifold gauge with the system cold. A timestamped photo keeps the record honest.
Step 2: Isolate the underfloor circuit
Close the valves connecting the manifold to the rest of the heating system. If system pressure now holds but the manifold side drops, the leak lives in the underfloor heating. If the boiler side keeps falling, look at radiators and pipework instead.
Step 3: Narrow it to a loop
Close individual loop valves in turn, watching the manifold gauge over a few hours for each. The loop that stops the loss when closed is the loop with the hole in it. Label it and stop there.
That is as far as DIY sensibly goes. You now know which loop leaks, but a loop can be 100 metres of pipe snaking under an entire floor. The next step is location, not excavation. If you would rather have the whole test done and documented in one visit, call us on 07700 152 467 and we will take it from the gauge reading to a mark on the floor.
Why underfloor heating leaks happen
Underfloor heating pipe is tough, but the building process around it is not always kind. The failures we find under Scottish floors, including in relatively young new-build estates where UFH is now standard on the ground floor, tend to come from a handful of causes: fixings or screws driven through the pipe (sometimes years earlier, sealing themselves until they corrode), damage during the screed pour, kinked pipe at tight bends, movement cracks in the screed working the pipe, and corrosion or joint failures at the manifold connections.
Notice what is missing from that list: age alone. A correctly installed loop can outlast the floor covering above it. That is worth knowing, because it means a leak is usually a single point of damage worth finding, not a system on its last legs.
Finding the leak without breaking the screed
Digging up a screeded floor to search for a pinhole is the expensive way to do it, and it is unnecessary. Two methods find UFH leaks precisely.
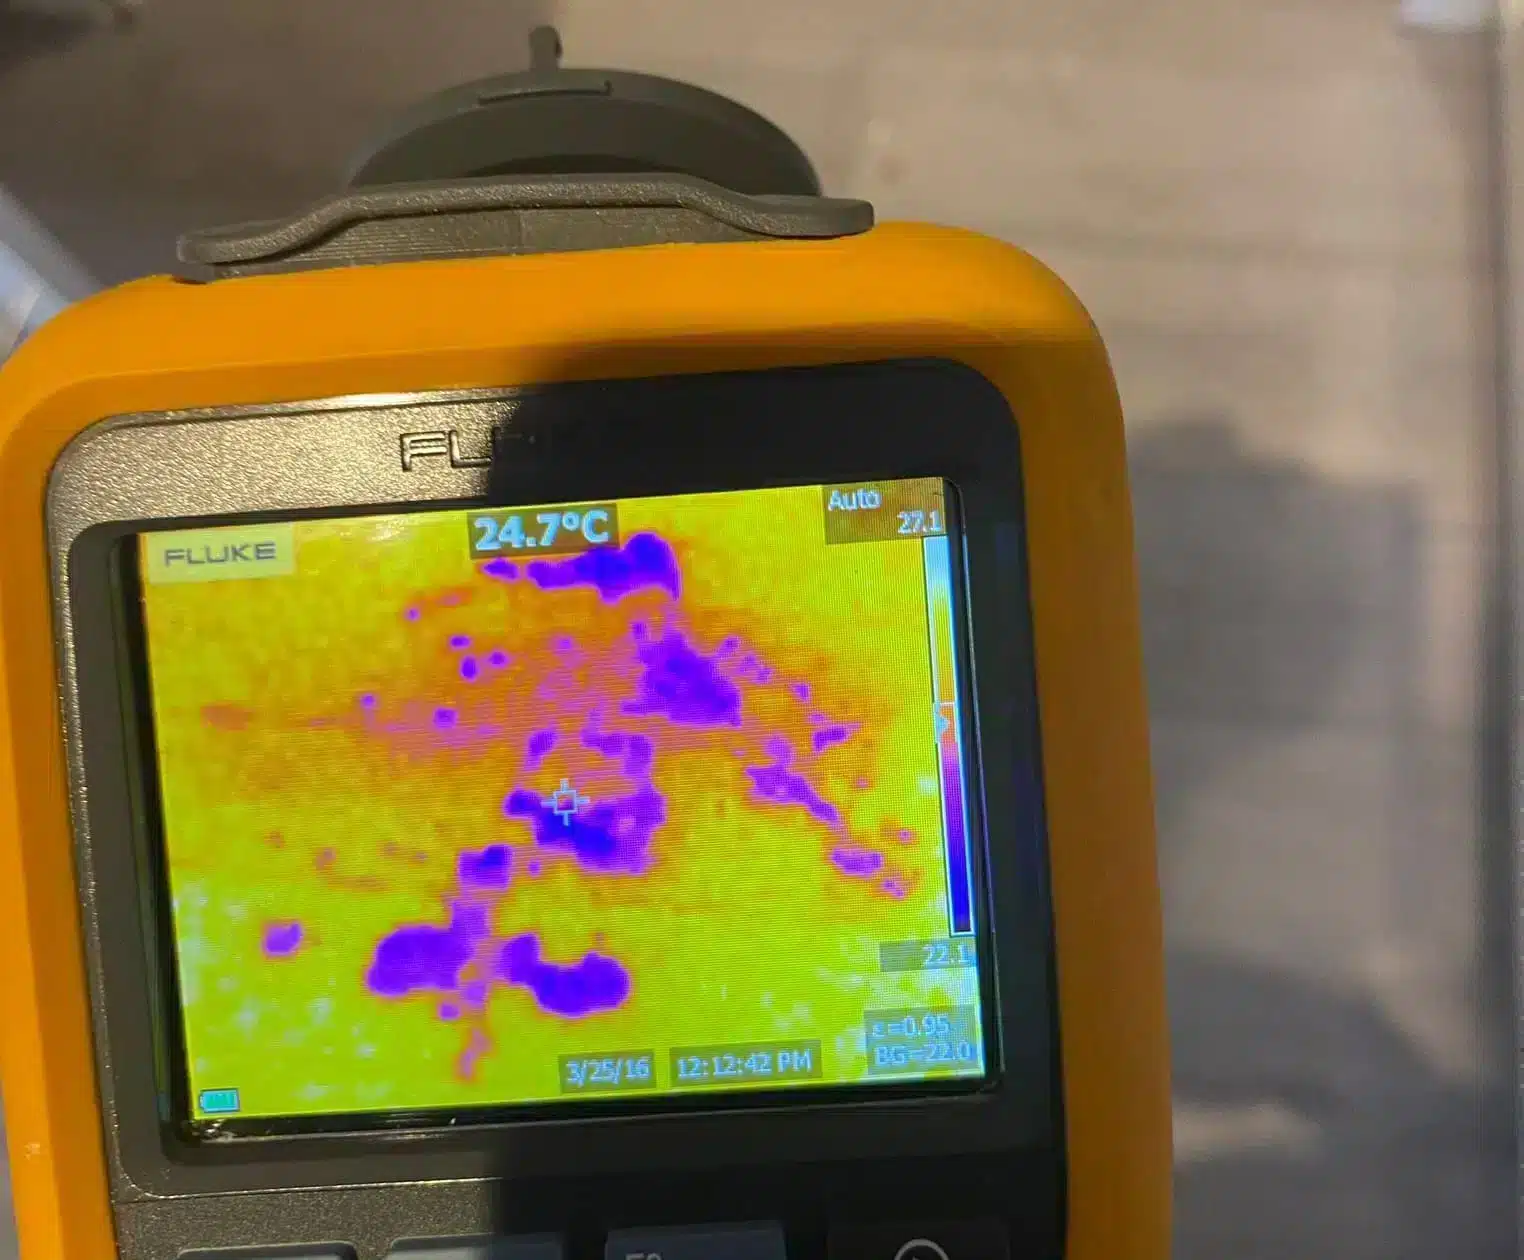
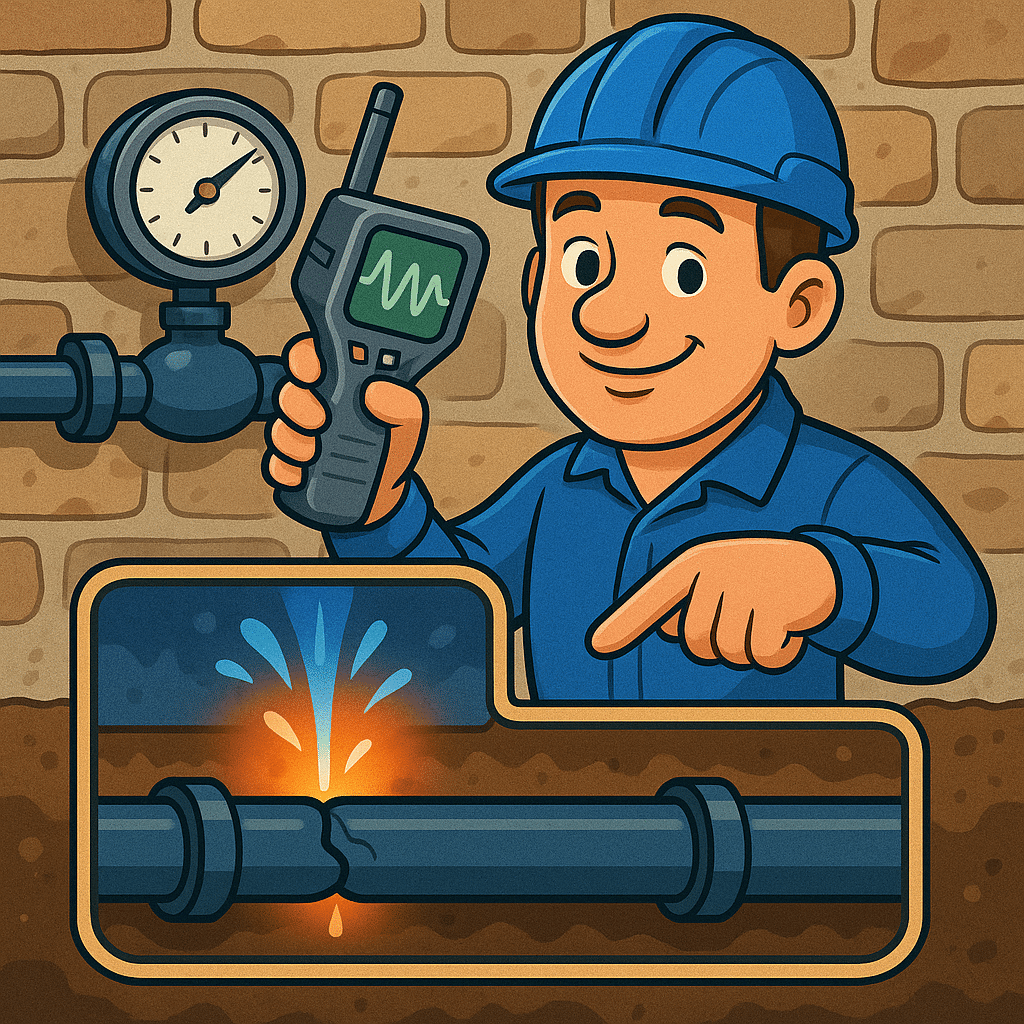
Thermal imaging comes first. With the circuit warmed, an infrared camera maps every pipe run through the floor covering and shows the leak as a spreading warm bloom rather than a crisp line. It is the same technique we use on walls and radiators, explained in our guide to thermal imaging leak detection.
Where the floor build-up masks the heat signature, tracer gas takes over. The drained loop is charged with a harmless hydrogen-nitrogen mix, the gas escapes at the hole, rises through the screed and registers on a surface probe directly above the failure. Between the two methods, the leak becomes a chalk mark, not a demolition zone.
Repair, insurance and what to expect next
With the leak marked, the repair is a small, controlled opening: a section of floor covering lifted, a neat break-out around the pipe, a pressure-tested repair coupling, and reinstatement. One tile or a single square of screed instead of a room.
On the money side, buildings insurance often helps more than people expect. Trace and access cover pays for locating the leak and making good the access, and MoneySuperMarket, citing Defaqto, says 94 per cent of buildings policies include it, with typical limits of £5,000 to £10,000. The pipe repair itself is usually a small part of the bill; the finding and the making good are what the cover exists for. Our article on trace and access cover explains how to use it, and a written detection report gives the insurer exactly the evidence it wants.
Frequently asked questions
How do I know if my underfloor heating is leaking?
Look for the combination: a boiler or manifold losing pressure, cold zones in a previously even floor, damp skirtings and dark patches on screed or flooring. Confirm it by isolating the underfloor circuit at the manifold; if the pressure loss stops when the circuit is closed, the leak is in a loop.
Can underfloor heating leak without any visible water?
Easily, and it usually does. The pipe sits in dense screed that absorbs and spreads escaping water, and warm water evaporates as it goes. Many underfloor heating leaks run for months with nothing to see except a falling pressure gauge, which is why pressure behaviour is the sign to trust.
Does the floor have to come up to fix an underfloor heating leak?
Only a small patch of it. Thermal imaging and tracer gas locate the failure to a precise point through most floor coverings, so the repair is one controlled opening around the damaged pipe rather than a lifted floor. The days of breaking out screed on a guess are gone.
Whereabouts do underfloor heating leaks usually happen?
At points of damage rather than random spots: screws or fixings driven through the pipe, nicks from the original build, kinks at tight bends, and joints at the manifold. Correctly installed loops have no buried joints, so a leak is normally a single repairable point, not general deterioration.
Will insurance cover an underfloor heating leak?
Buildings policies commonly cover the water damage and, through trace and access cover, the cost of finding the leak and making good the access. MoneySuperMarket, citing Defaqto, puts trace and access in 94 per cent of policies. The repair of the pipe itself is normally excluded, but it is the smallest part of the cost.
Related reading
- Central Heating Pipe Leaking Under the Floor: Signs and What to Do
- How Thermal Imaging Finds Hidden Water Leaks
- Boiler Losing Pressure? Causes and What to Do Next
- What Is Trace and Access Cover? Home Insurance Explained
MCR Leak Detection provides underfloor heating leak detection across Scotland, from city tenement conversions to new-build estates.
Speak to MCR Leak Detection
Cold spots in the floor or a gauge that will not hold? We locate underfloor heating leaks with thermal imaging and tracer gas, without breaking out the screed, anywhere in Scotland, 24/7.