

A thermal camera does not see water. It sees temperature differences on a surface, and a hidden leak changes surface temperature: a warm trail from a heating pipe, or a cool patch where evaporation chills wet plaster. An engineer reads those patterns to trace pipe runs and mark the leak area without opening anything up.
How Thermal Imaging Finds Hidden Water Leaks
Thermal imaging leak detection has a slightly magical reputation. Point a camera at a wall, and the leak lights up in orange and purple. The reality is more interesting and more useful to understand, because knowing what the camera actually measures tells you when it will find your leak quickly and when a different method will do the job better.
Our engineers carry thermal cameras into homes across Scotland every week, and on the right job they save days of guesswork and a lot of undamaged plaster. Here is how the method really works.
What’s in this guide
How a thermal camera actually works
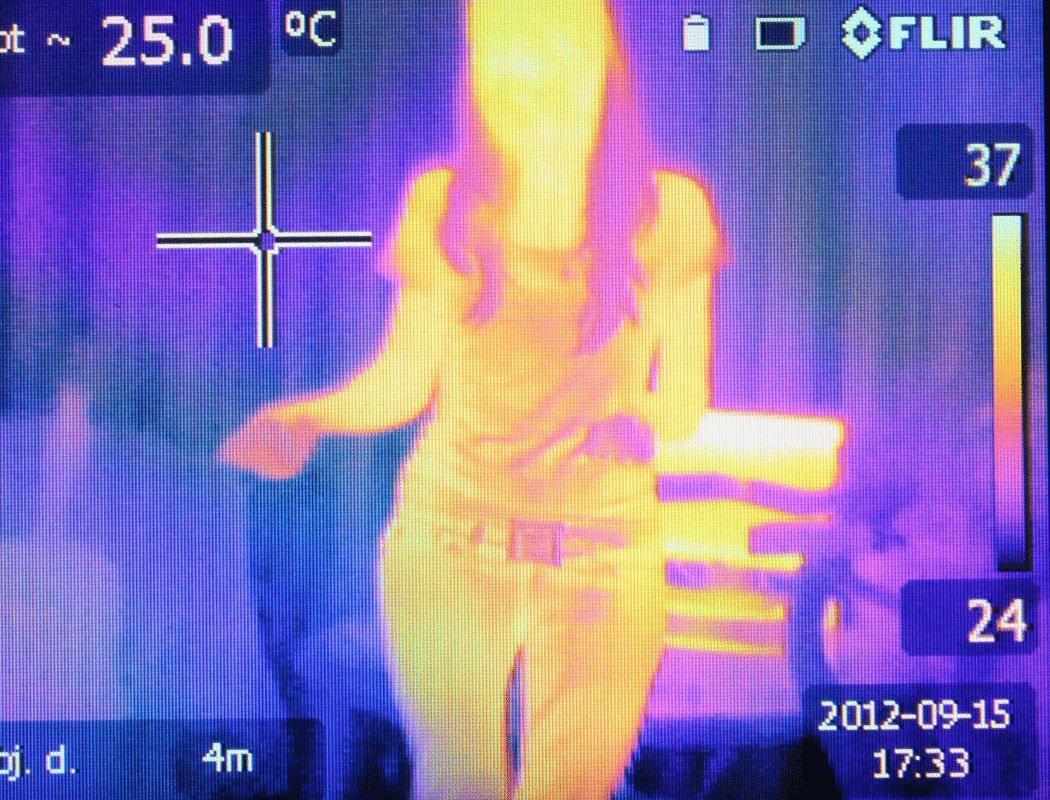
Every surface gives off infrared radiation, and the warmer the surface, the more it emits. A thermal camera measures that radiation and converts it into a colour map of surface temperature. Warm areas show as yellows and oranges, cooler areas as blues and purples. The camera resolves differences of a fraction of a degree, far finer than your hand can feel.
The key point: the camera only reads the surface. It cannot look through a wall or a floor. What it can do is show where something behind the surface is changing the temperature in front of it. A hot pipe warms the floor above it. Wet plaster cools as the moisture evaporates. Those effects reach the surface, and that is what the engineer reads.
What a leak looks like on screen
Different leaks leave different signatures:
- Heating pipe leaksThe easiest to spot. A leaking hot pipe paints a warm plume across the floor or wall, often wider and messier than the neat line of the pipe run itself. That messy bloom is the giveaway.
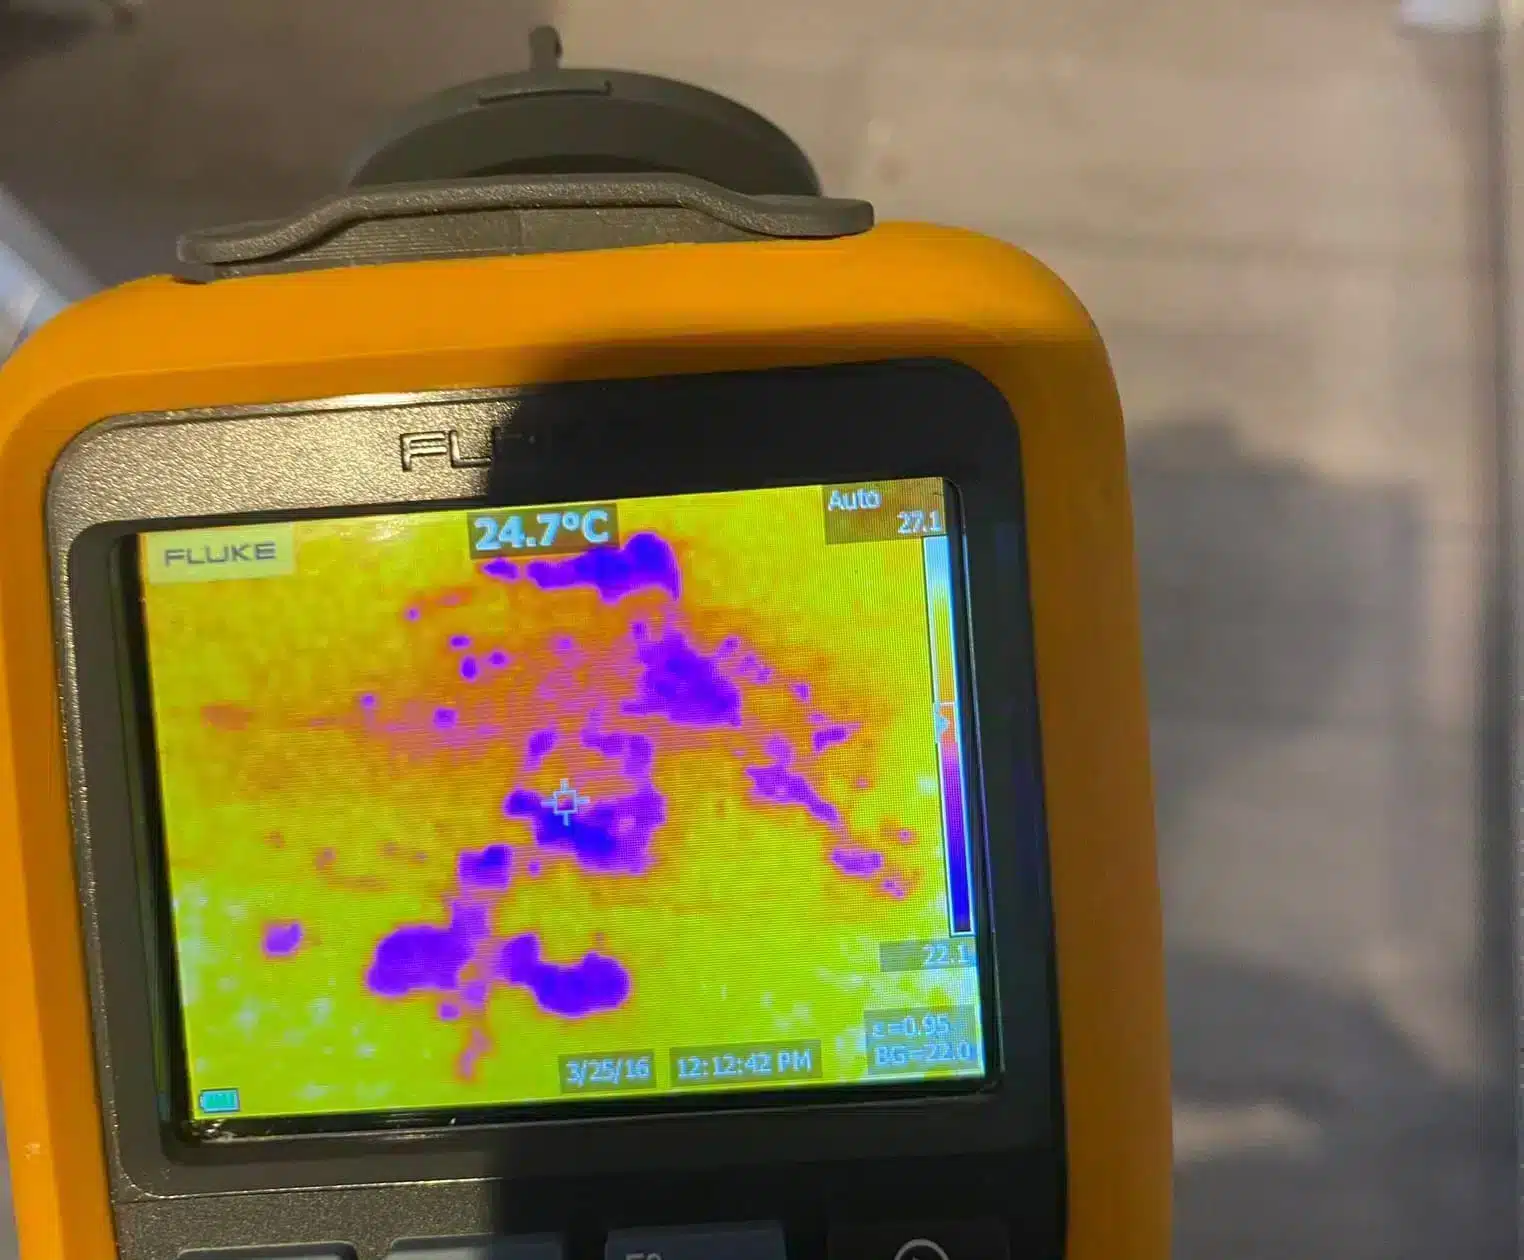
- Cold water leaksSubtler. Escaping mains water is usually cooler than the room, and evaporating moisture chills the surface further, so the leak shows as a cool shadow.
- Historic dampWet materials hold and release heat differently from dry ones, so a soaked patch of screed or plaster stands out even between drips.
Reading these patterns takes experience. Plenty of things create thermal anomalies that have nothing to do with leaks: draughts, missing insulation, cold bridges, sunlight that warmed one wall an hour ago. The camera finds candidates. The engineer confirms them, usually with moisture readings on the exact spot. Our guide to moisture meter readings explains that second step.
What thermal imaging finds well
- Central heating leaks under floorsWarm water and a clear temperature contrast make these the method’s home ground.
- Pipe runs you cannot seeRunning the heating briefly makes buried pipes glow on screen, which maps the system before any investigation starts.
- The true extent of dampThe camera shows how far moisture has spread beyond the visible stain, which matters for drying and for insurance claims.
- Ceiling leaks from aboveScanning a ceiling finds the wet zone fast, then narrows where the water is actually entering. Useful alongside our guide to finding a leak in a wall or ceiling.
What thermal imaging cannot see
An honest specialist tells you the limits before the survey, so here are ours.
Where it shines
- Hot water and heating leaks
- Completely non-destructive scanning of large areas
- Fast: a room is surveyed in minutes
- Maps hidden pipe runs and the spread of moisture
Where it struggles
- No temperature difference means no image, so a cold leak in a cold void can hide
- Deeply buried pipes may not affect the surface at all
- Reflective surfaces such as foil insulation and shiny tiles confuse the reading
- It cannot confirm moisture on its own; a meter must verify each anomaly
This is why professional detection rarely relies on one instrument. When thermal imaging reaches its limit, acoustic leak detection listens for the leak instead, and tracer gas finds escapes that neither heat nor sound will reveal. The skill is choosing the right tool for the pipe in question.
If you would rather talk your situation through than guess at methods, call us on 07700 152 467 and we will tell you honestly whether thermal imaging suits your leak.
Underfloor heating: thermal imaging’s favourite job
Underfloor heating loops are buried in screed with no access points, which once meant breaking out floor with a bolster and hope. A thermal camera changes that completely. Run the system warm, and every loop appears on screen as a glowing serpentine pattern through tile, timber or vinyl.
A leak interrupts that tidy pattern. Instead of a crisp line, the camera shows a spreading warm blot where hot water is soaking into the screed. The engineer marks the spot, confirms it, and the repair opens one small area rather than a whole floor. If you suspect this problem, our article on underfloor heating leak signs covers the symptoms to check first.
Scottish stone and solid walls: a special case
A large share of Scotland’s housing stock is Victorian or older: sandstone tenements, granite villas, solid walls with no cavity and plaster on lath. These buildings suit thermal imaging for one reason and complicate it for another.
The advantage is that opening up period fabric is expensive and often irreversible, so a method that scans without touching anything earns its place immediately. The complication is mass. Thick stone absorbs heat slowly and evens out temperature differences, so a leak signature that would be obvious through plasterboard can be faint through half a metre of masonry. On solid-wall properties we run the heating longer before scanning, work in stable conditions, and lean more heavily on moisture profiling and acoustics to back the camera up. It is also easy to mistake wind-driven rain soaking through a solid wall for a plumbing leak, a problem we unpick in our guide to damp patches with no obvious leak.
What happens during a thermal survey
1. Set the conditions
For heating leaks, the system runs until pipes are warm. For cold leaks, we may need the area still and shaded, since recent sunlight or heaters mask the real pattern.
2. Scan and map
The engineer sweeps floors, walls and ceilings, photographing anomalies and building a picture of pipe runs and moisture spread.
3. Confirm every anomaly
Each suspect area gets moisture readings and, where useful, acoustic checks. Only confirmed findings go in the report.
4. Mark the spot and report
You get the leak position marked physically plus a written report with the thermal images, ready for your plumber and your insurer.
Frequently asked questions
Can a thermal camera see through walls?
No. It reads the temperature of the surface itself, not what sits behind it. It finds leaks because hidden pipes and hidden moisture change the surface temperature above them. That is a subtle but important difference, and it is why deeply buried pipes sometimes need other methods.
Does thermal imaging work on cold water leaks?
Often, yes, but the signature is weaker. Cold mains water and evaporative cooling show as a cool patch rather than a warm plume, and the contrast depends on conditions. Where the difference is too small, an engineer switches to acoustic listening or tracer gas instead.
Will it find a leak under my tiled floor?
If the leak is on a heating circuit or hot water pipe, the chances are good, because the warm plume travels up through tile clearly. Cold pipes under thick screed are harder. A survey normally combines the camera with moisture readings and acoustics to be sure before anything is lifted.
Is thermal imaging leak detection destructive at all?
No. Scanning involves nothing more than pointing a camera at your floors, walls and ceilings. Nothing is drilled, lifted or opened during the survey itself. Any opening up happens afterwards, at the single confirmed leak point, which is the whole reason to survey first.
Do I still need a plumber after a thermal survey?
Yes, for the repair itself. Detection and repair are separate jobs: we pinpoint the leak, mark it and document it, then a plumber fixes the pipe through the smallest possible access. Your insurer may cover the finding under trace and access cover, so keep the report.
Speak to MCR Leak Detection
Our engineers use thermal imaging alongside acoustic and tracer gas methods to pinpoint hidden leaks without damage, anywhere in Scotland, 24/7. One scan beats a dozen exploratory holes.
Related reading
- Acoustic Leak Detection: How Engineers Hear Leaks Underground
- Tracer Gas Leak Detection: How It Works and When It’s Used
- Non-Destructive Leak Detection: What It Means for Your Home
- The Equipment Professional Leak Detection Engineers Use
Or learn more about our water leak detection across Scotland.