

A leak detection survey starts with questions, not equipment. The engineer confirms water really is escaping, isolates which system is losing it, then pinpoints the failure with thermal imaging, acoustic listening, moisture mapping and tracer gas as the property demands. The visit ends with a marked location and a written report, so the repair happens through one small opening rather than several wrong ones.
What Happens During a Leak Detection Survey? A Walkthrough
Booking a leak detection survey for the first time raises reasonable worries. Will they rip up the floor? Do I need to empty the room? What if they find nothing? Most people have never watched one happen, so the visit is a black box until the van pulls up.
This walkthrough opens that box. It follows a typical MCR Leak Detection home visit from the phone call to the report, so you know what the engineer is doing at each stage and why.
What’s in this guide
Before the visit: the phone conversation matters
A good survey starts before anyone arrives. When you book, expect questions: what have you noticed, when did it start, is the boiler losing pressure, is there a smell, has a plumber already looked, is the property a house, flat or business. Your answers decide which equipment goes in the van and roughly where the search will start.
Be as specific as you can, even about details that feel trivial. “The stain grows on Sunday mornings” points at a shower. “The gauge drops overnight” points at the heating circuit. The history is evidence, and it shortens the visit.
The survey, step by step
1. Walkthrough and your account
The engineer looks at every symptom you can show: stains, warped boards, mould, meters, the boiler gauge. You will be asked to retell the story in your own words. This usually takes fifteen to twenty minutes and it steers everything that follows.
2. Proving water is escaping
Next comes confirmation that there is a live leak at all, not old damage still drying out. Depending on the property this means watching the boiler pressure with the system isolated, running a stop valve test on the incoming main, or taking moisture readings to see whether the damp is active or historic.
3. Narrowing it to one system
Homes carry several separate water systems: the cold main, hot water, the sealed heating circuit and the waste pipes. Isolating each in turn and watching what changes identifies the guilty one. This is the most valuable diagnostic step of the whole visit, because it shrinks the search from the entire house to one set of pipes.
4. Tracing the pipe runs
You cannot search what you cannot map. Pipe locators trace where the suspect pipework actually runs under floors and through walls, which in older or renovated Scottish properties is regularly a surprise to the owner.
5. Detection, with the method matched to the job
Only now does the headline equipment come out. The engineer works along the traced route with the technique that suits the pipe material, depth and surroundings, and cross-checks any suspect reading with a second method before calling it.
6. Pinpoint, mark, explain
The confirmed position gets marked on the floor or wall, photographed, and explained to you along with what the repair involves. You should never be left with a vague “somewhere in this room”.
The equipment you will see (and what each piece does)
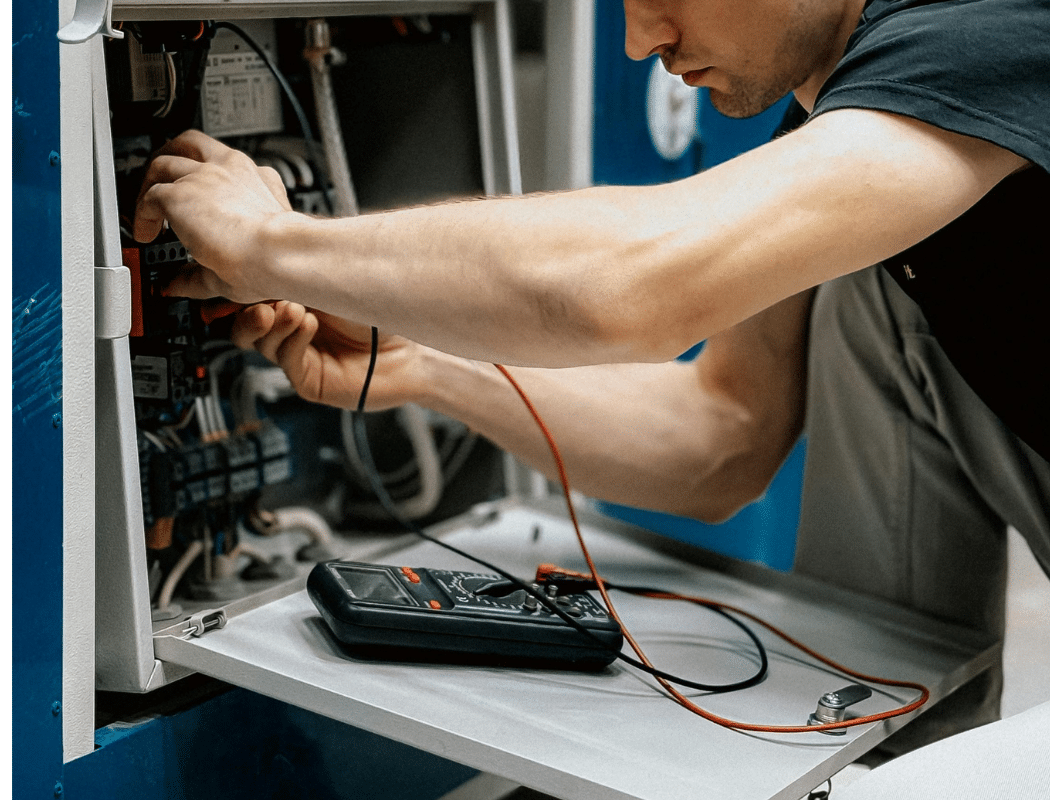
Thermal imaging cameras read surface temperature, so warm heating pipes, cold soaked patches and the spreading bloom of a leak all show through plaster and screed without touching anything.
Moisture meters map how far water has travelled through walls and floors, and separate active wetting from old damage that is still drying out.

Acoustic equipment, ground microphones and listening poles, picks up the hiss of pressurised water escaping, and works outdoors on buried supply pipes as well as inside.
Tracer gas is the specialist option: the pipe is drained and charged with a safe hydrogen and nitrogen mix, and a surface probe sniffs out where the gas rises. It shines on plastic pipes, underfloor heating and deep leaks where sound fails.
No single instrument wins every job, which is why an engineer arriving with one gadget should worry you. The skill is in choosing and combining methods, then trusting only readings that two techniques agree on.
Pinpointing: what “found it” actually means
A proper find has three parts. The location is specific, typically a marked point rather than a zone. The evidence is documented, with photos and readings showing why that point and not another. And the practical next step is clear: what needs opening, what the repair involves, and who should do it.
Honesty matters at this stage too. A small number of leaks, usually intermittent ones, resist a first visit. If that happens you should hear exactly what was ruled out and what a return visit will test, not a shrug. And if the survey shows the problem is condensation or rainwater ingress rather than a plumbing leak, you should be told that plainly as well, because it changes who you need next.
Worried a leak is running right now? We attend emergencies across Scotland day and night. Call 07700 152 467 and describe the symptoms, and we will tell you honestly whether it needs a survey or a same-day callout.
The report: the document that unlocks everything else
After the visit comes the written survey report: the confirmed location, the methods used, photos, readings and repair recommendations. Keep it safe, because it does three jobs. It tells your plumber exactly where to work. It evidences the cause of damage for your insurer, which matters for escape of water claims. And it supports a trace and access claim, the part of most buildings policies that pays for locating a leak and making good the access. Our guides to detection reports for insurance and trace and access cover explain both in detail.
How to prepare your home for the survey
Before the engineer arrives
- Clear access to suspect areasMove furniture off stained walls, empty cupboards under sinks, and unblock loft hatches and access panels.
- Keep the water onMost methods need the system charged. If a burst forced you to shut off, say so at booking.
- Gather the paperworkPrevious plumber reports, boiler service records and any building plans all help map the pipework.
- Note your symptomsDates, photos and patterns. What makes it better or worse is real evidence.
- Plan for some quietAcoustic listening needs low background noise, so washing machines and loud TVs off during that stage helps.
- Know your stop valveThe engineer will want the stop valve inside the house and, for outside leaks, the boundary stopcock.
Frequently asked questions
Will a leak detection survey damage my home?
No. The methods are non-destructive: thermal imaging, acoustic listening, moisture mapping and tracer gas all read the leak from the surface. Nothing is opened up during the survey itself. The repair that follows needs one small access point at the marked location, which is the damage the survey exists to minimise.
Do leak detection engineers repair the leak as well?
Detection and repair are separate jobs. The survey locates the failure precisely and documents it, and the repair is then a quick, targeted task for a plumber, sometimes the same firm, sometimes yours. Keeping them separate also matches how insurance treats the two: locating is trace and access, repairing the pipe usually is not covered.
How long does a leak detection survey take?
Most home surveys take between one hour and half a day depending on the scenario. Simple indoor leaks are quick, heating circuits take a couple of hours, and buried supply pipes or underfloor heating loops sit at the longer end. Good preparation and a clear symptom history shorten every visit.
What happens if no leak is found?
A genuine survey never ends with nothing. If there is no live plumbing leak, the evidence points somewhere: condensation, rainwater ingress, an old soaking still drying out, or an intermittent fault that needs catching in action. You should get a clear explanation of what was ruled out and what to do next.
Do I need to turn my heating on before the survey?
If the suspected leak is on the heating system, having it available helps, since thermal imaging works on the temperature contrast of warm pipes. The engineer will ask for it to run at specific points during the visit. For mains and supply pipe leaks the heating is not needed, but the water supply is.
Speak to MCR Leak Detection
One visit, the right methods, a marked leak and a written report. That is what a survey should deliver. We provide non-destructive leak detection across Scotland, 24 hours a day.
Related reading
- The Equipment Professional Leak Detection Engineers Use
- How Thermal Imaging Finds Hidden Water Leaks
- Acoustic Leak Detection: How Engineers Hear Leaks Underground
- Why Insurers Ask for a Leak Detection Report (and What’s in One)
Or learn more about our water leak detection across Scotland.